Substance Designer simple cel shading tutorial 24 Oct 2019 13:25
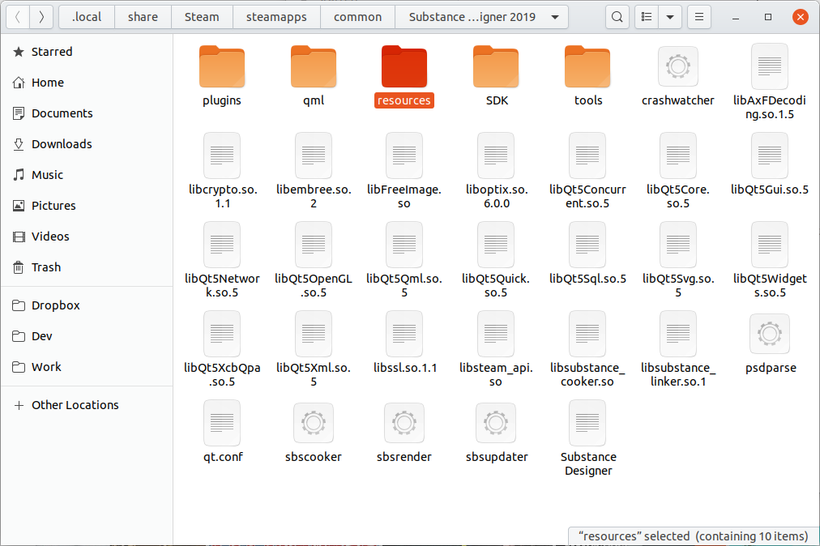
Search for the Substance Designer application's folder.


Go to the shaders folder: resources -> view3d -> shaders.


We are going to use the default lambert shader as a base for our shader.
You need to copy those files somewhere:
- common/common.glsl
- common/uvtile.glsl
- lambert/fs.glsl
- lambert/vs.glsl
- lambert.glslfx
Make sure that you have copied the folders aswell.
Or you can copy the whole "common" folder and remove the unused .glsl files from it later.

Rename the "lambert" folder into something else, for example "cel_shading".
Rename the "lambert.glslfx" file into something else, for example "cel_shading.glslfx".

Open .glsxfx file in the text editor.
Change the name of the shader and location of the GLSL files.

Open the fragment shader file "fs.glsl" in the text editor.
Change the "Light contribution" block to:
// Light contribution
float diffContrib0 = ( max(dot(pointToLight0DirWS, iFS_Normal), 0.0) *
Lamp0Intensity * lampAttenuation(pointToLight0Length) );
float diffContrib1 = ( max(dot(pointToLight1DirWS, iFS_Normal), 0.0) *
Lamp1Intensity * lampAttenuation(pointToLight1Length) );
float diffContrib = diffContrib0 + diffContrib1;
Add the new "Cel Shading" block right after it:
// Cel Shading
if (diffContrib > 0.1) {
diffContrib = 1.0;
} else {
diffContrib = 0.2;
}

Open the .glslfx file in the Substance Designer.
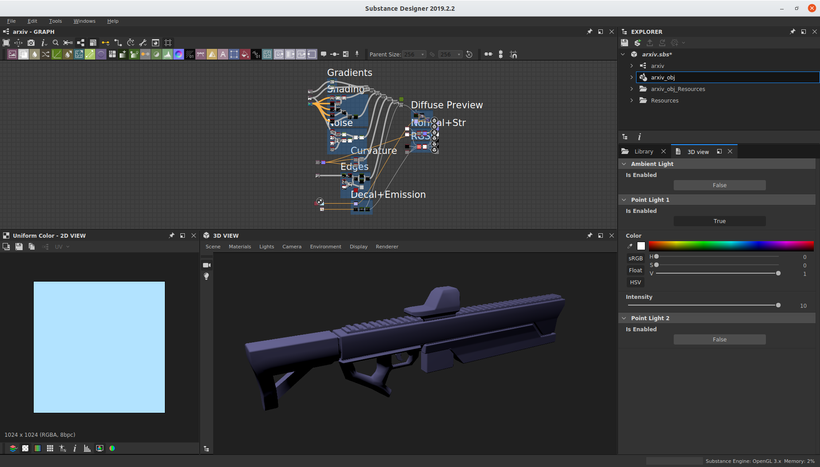


This is a basic cel shading shader, but you can make a more complex one depending on your needs.